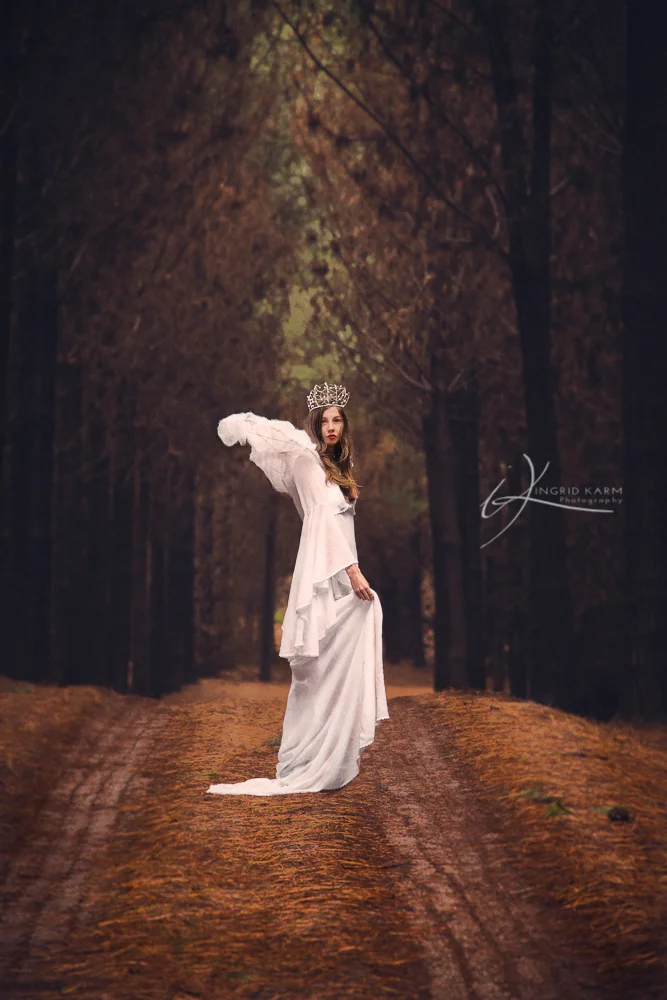
I thought I would share a quick behind the scenes of the makings of a crown for an Ice Queen concept. Although I am yet to photograph the final image (still waiting for snow), one of my favourite models and I took the crown and the concept for a test run in the woods.


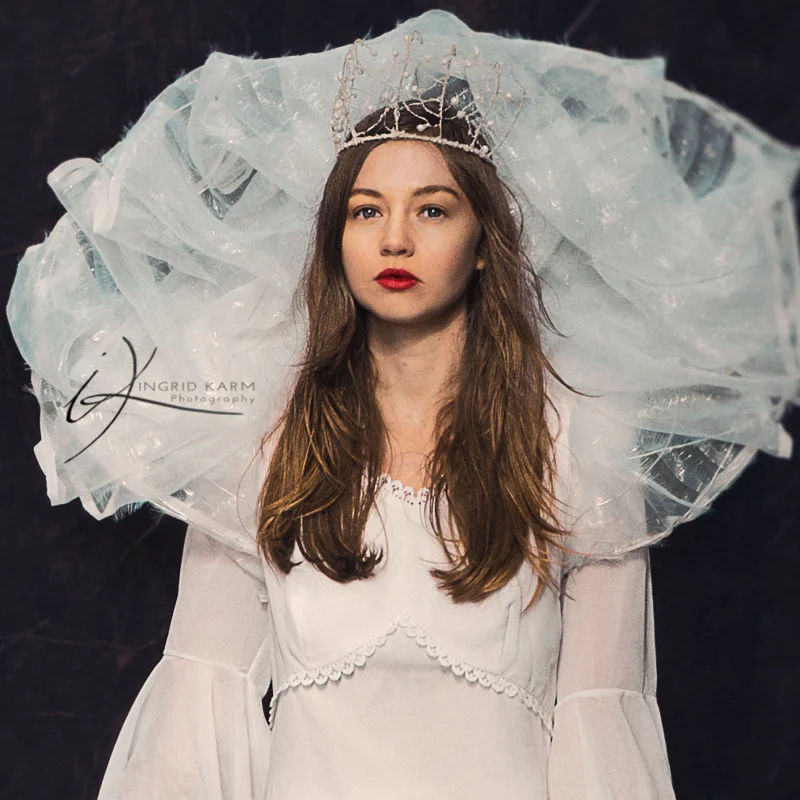
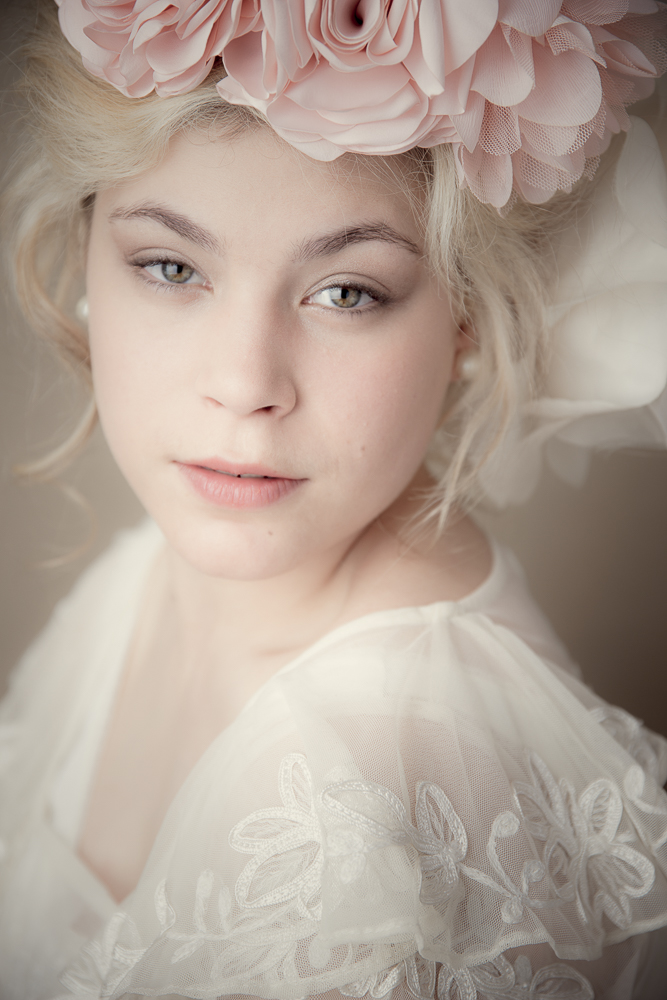
close up of crown
I wanted a design that was fairly basic, as I hadn't attempted to create anything like this before. I think now if I was to remake this or enhance it, I would make it more elaborate.
Items needed:
sturdy but flexible wire ( I found some in the jewelry making section in spotlight)
28 gauge bead wire
pearls
spray adhesive
epsom salts
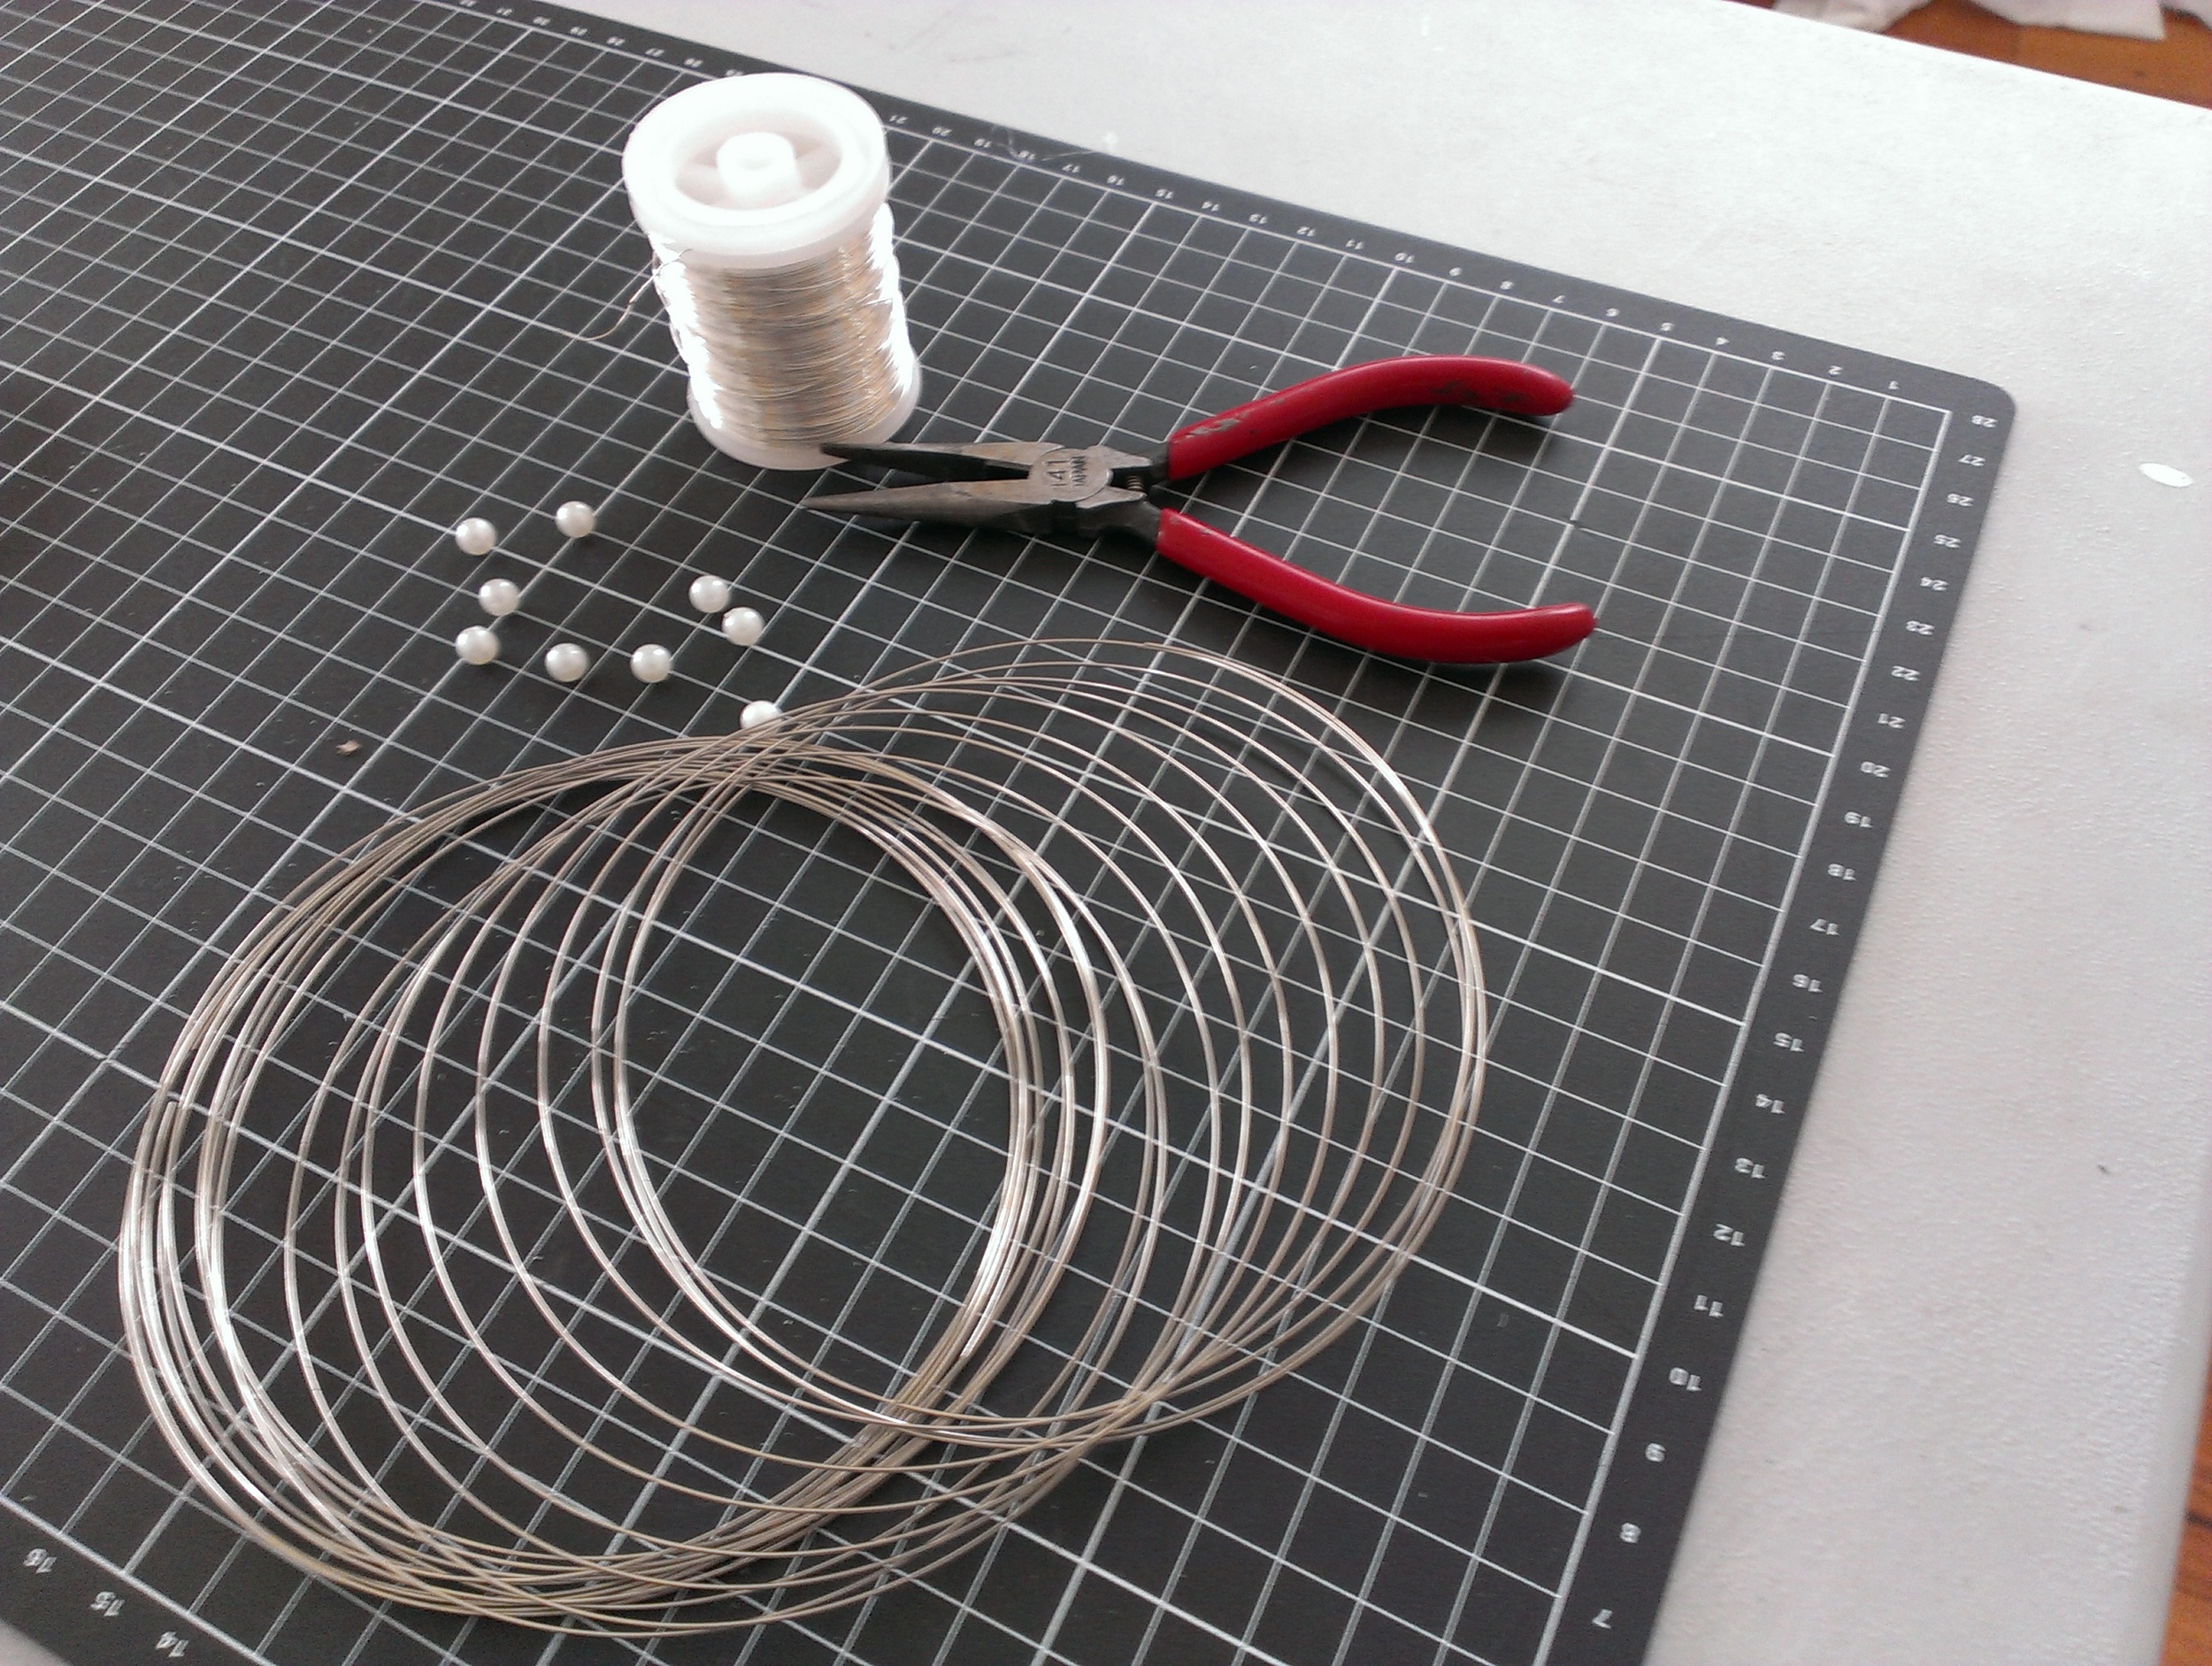

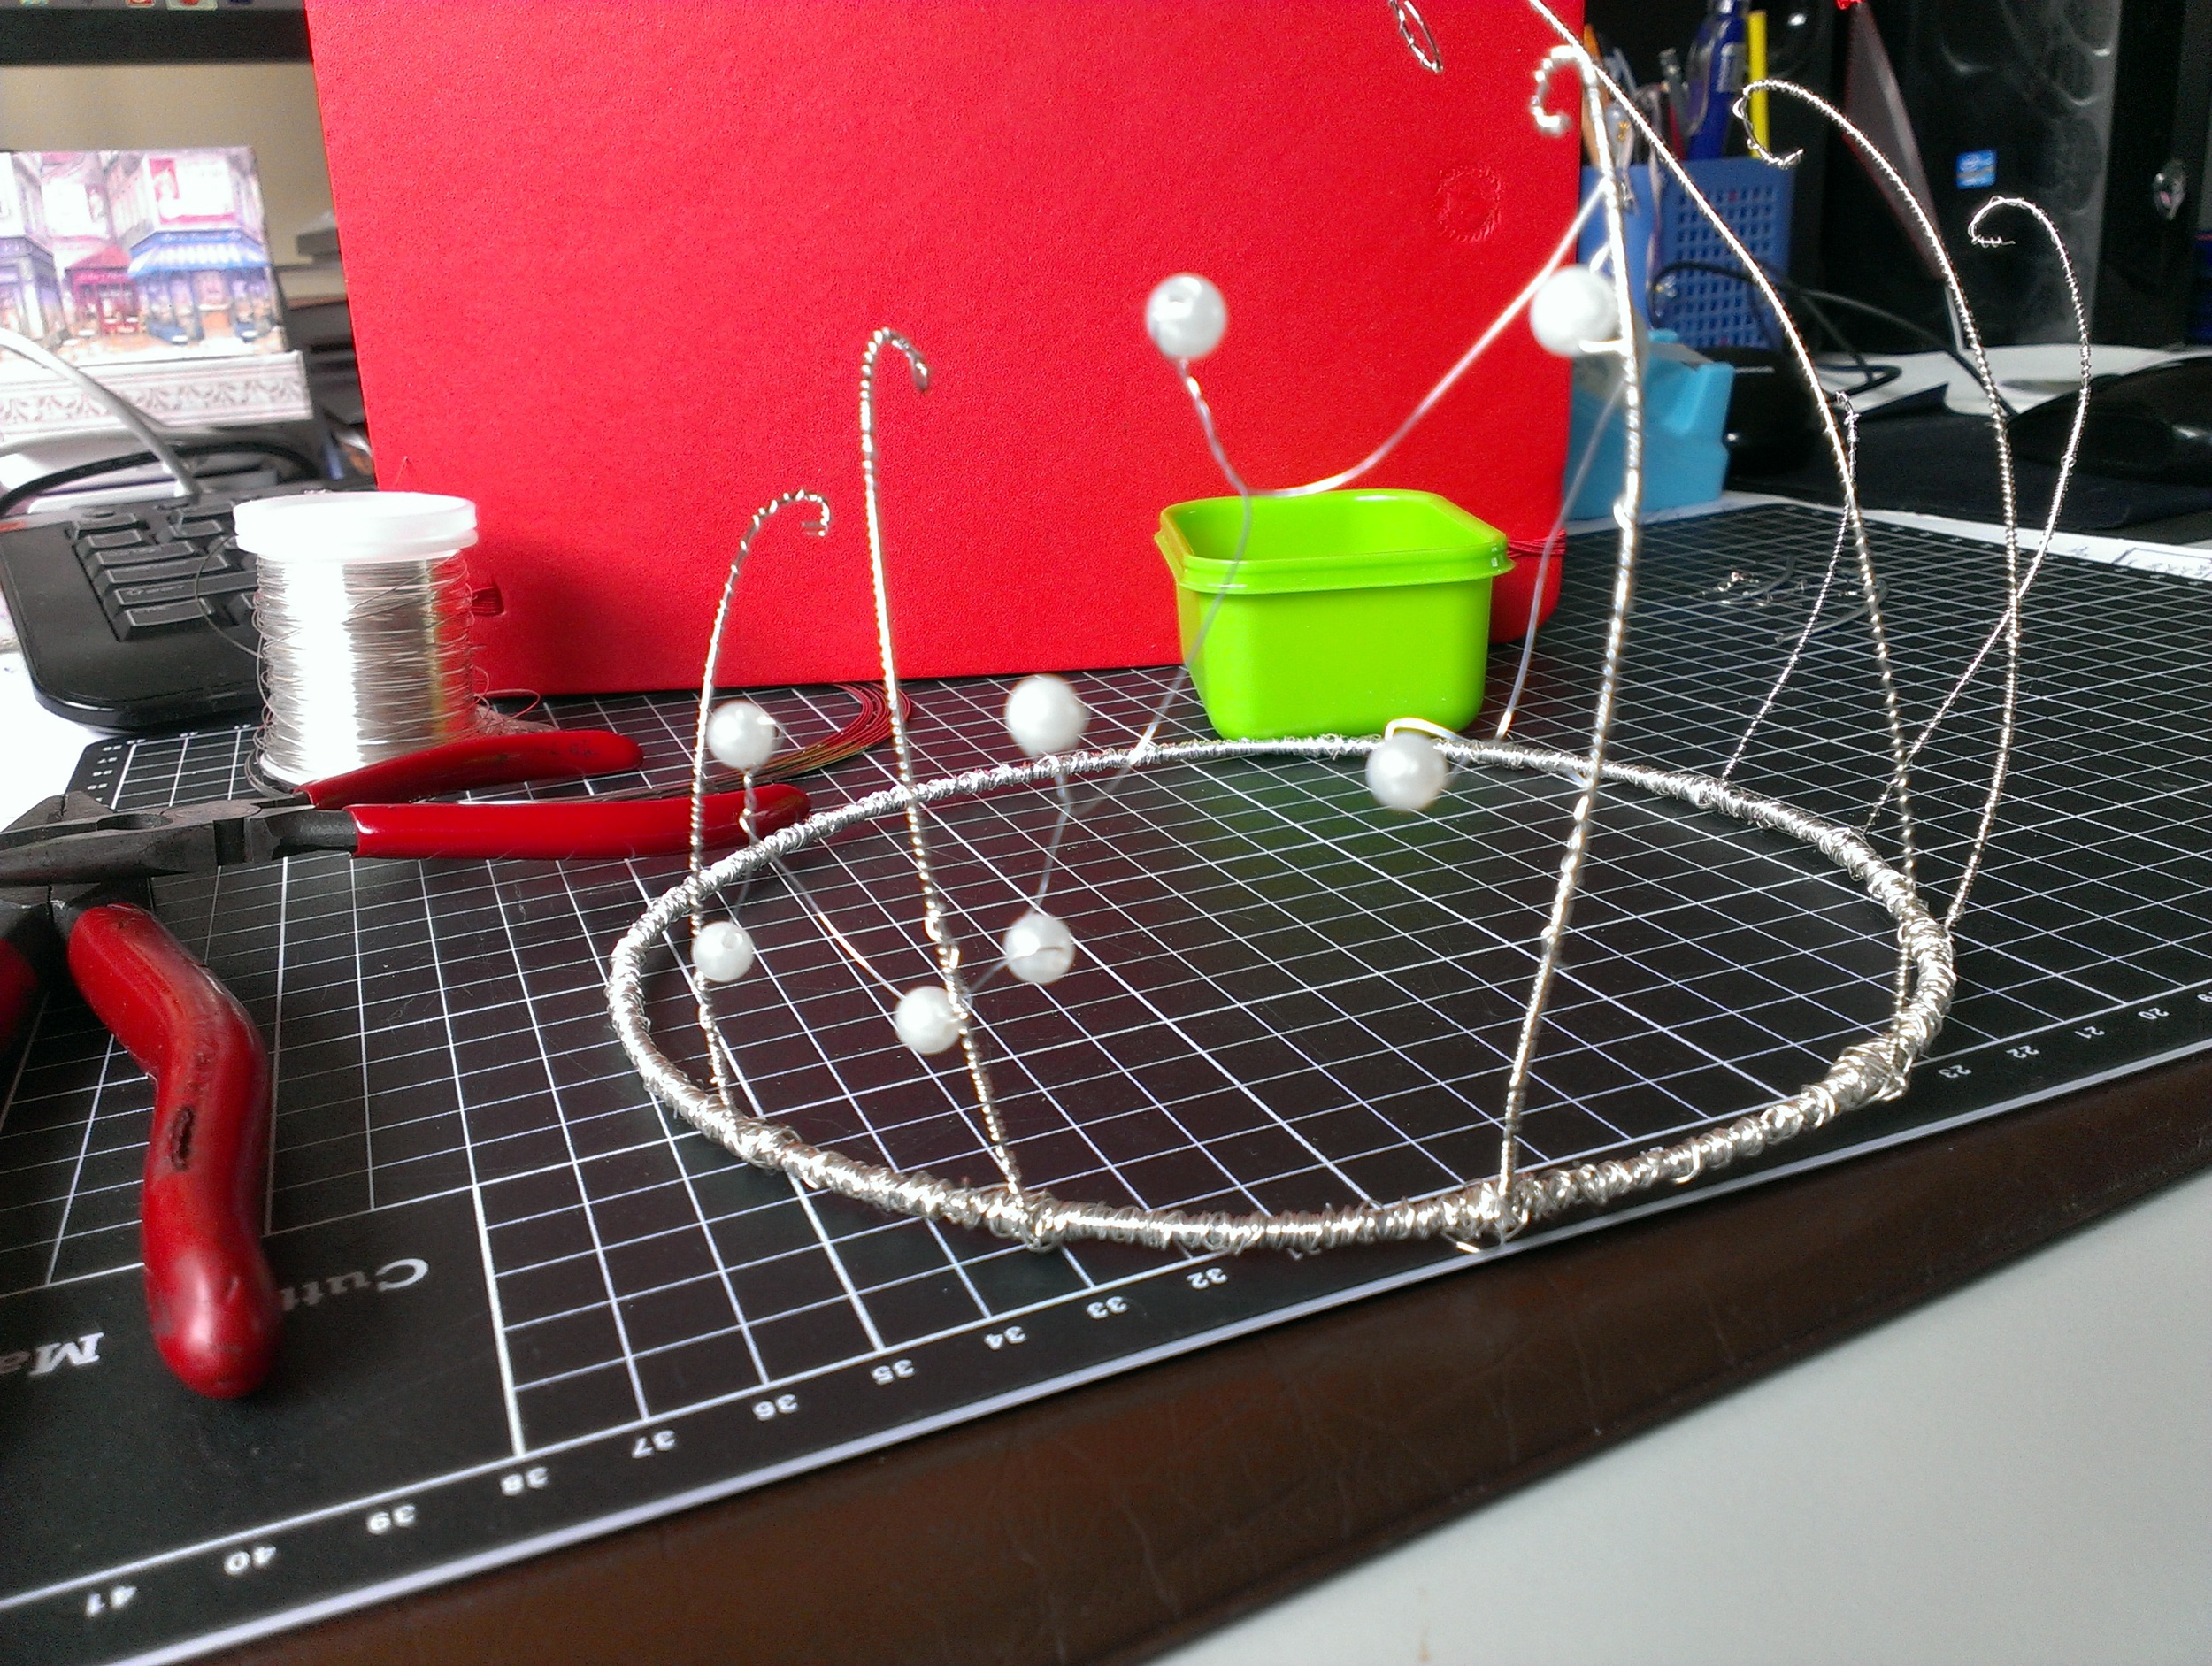

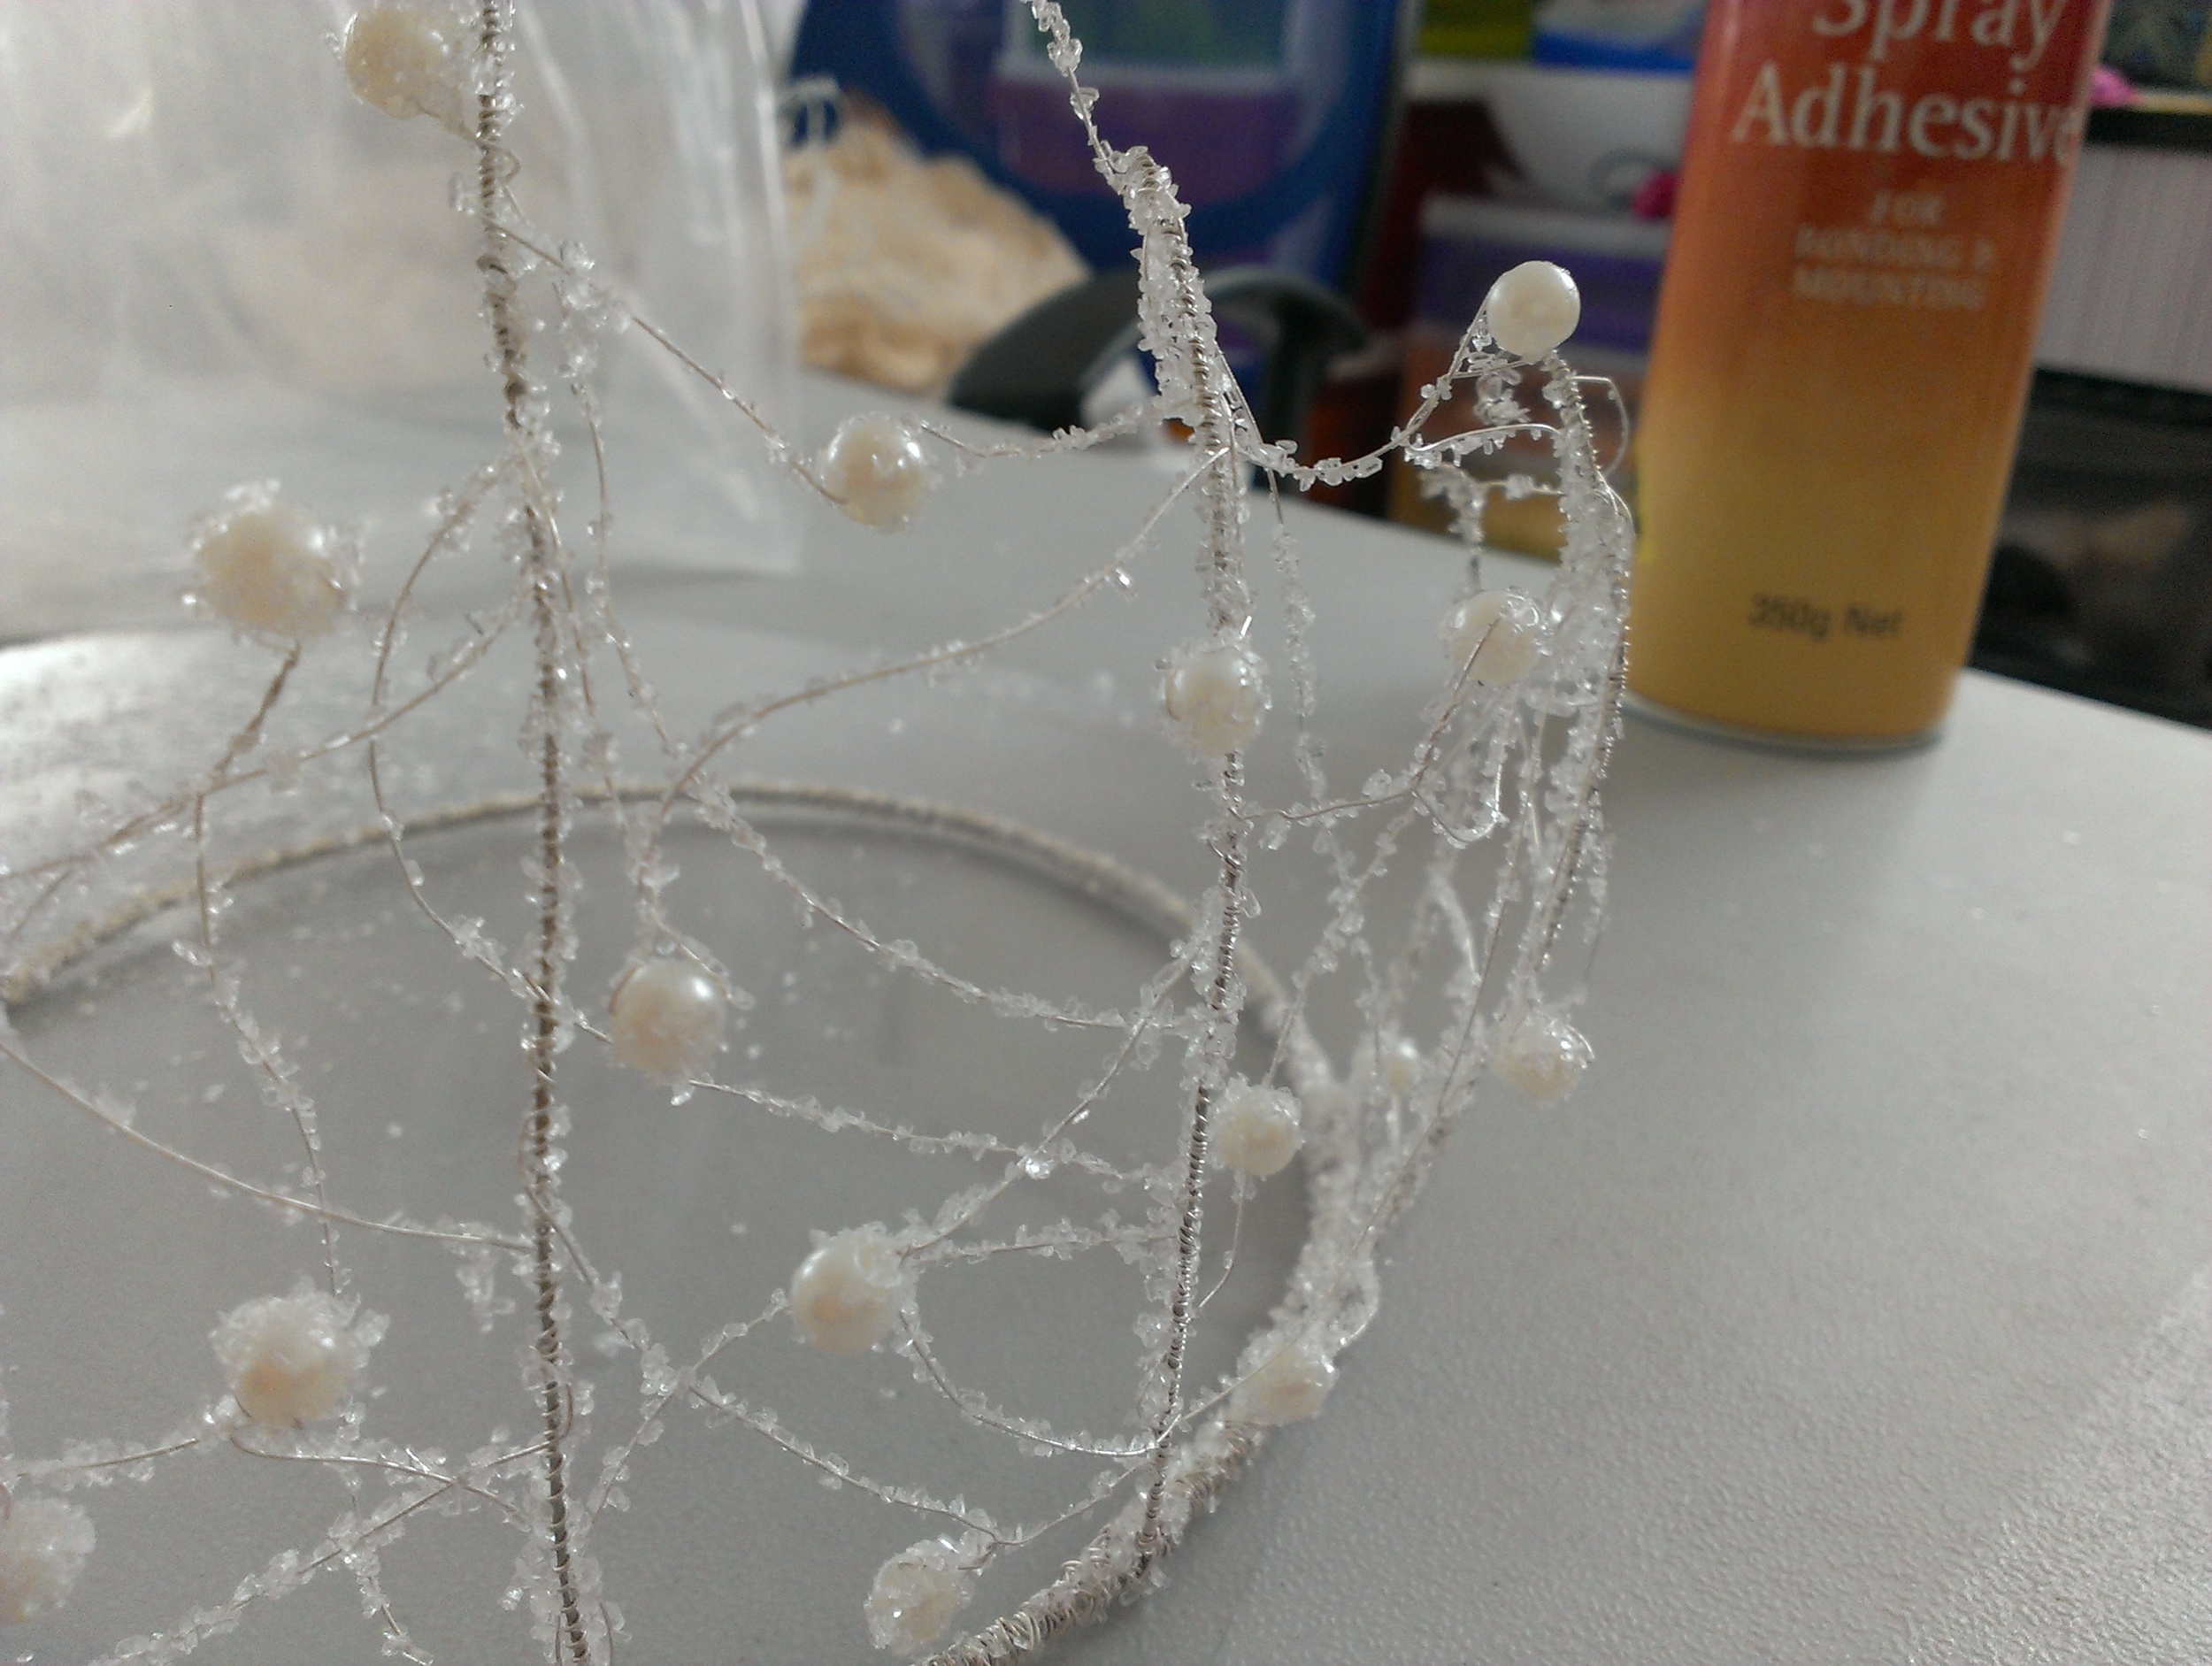
The method is really simply. Create a circle to fit ones head with the thicker wire, also cut various lengths to create the uprights. ( I made mine with the tallest in the centre and getting shorter towards the outsides). Wrap all these wires with the beading wire, (be patient it takes awhile) to attach the uprights I just made an L shape on the bottom and then joined it to the ring by twisting the bead wire around both sections. Using the bead wire I just twisted random sections between the uprights adding pearls as I went. To get the frosty look, tip some epsom salts into a container large enough to hold the crown, spray your crown with adhesive and dip into the salt. Do this a few times to build up the layers.
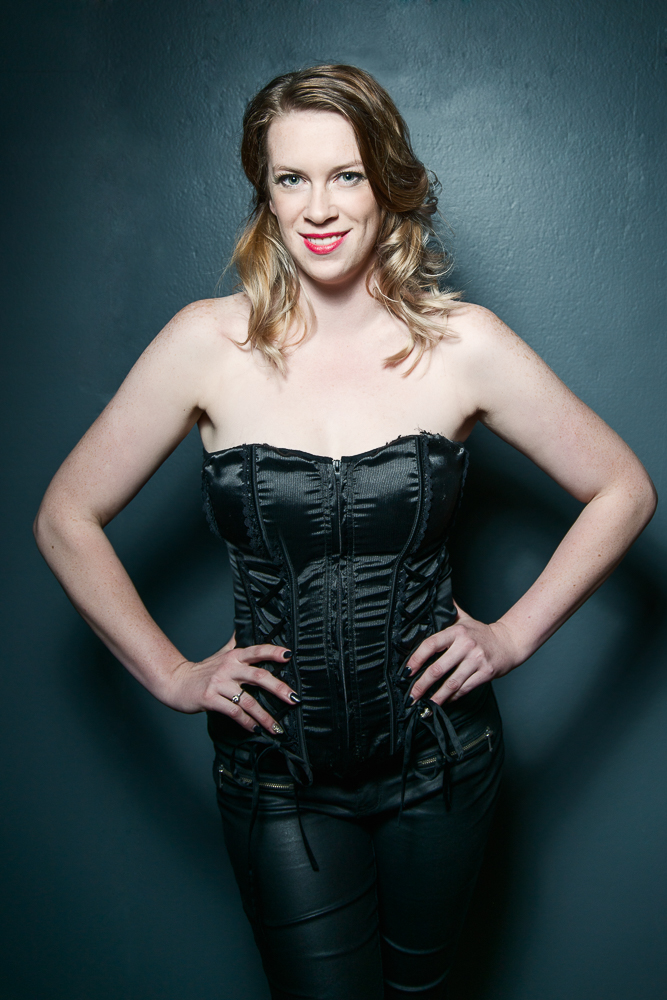
After shooting this trial of the concept, I am now rethinking the dress. I think this concept needs something a little more frosty and cold looking. Hmm maybe something with icicles????

pin this post